Tip From A PRO
by Reno Makani
How To Make A GoPro Action Sequence (Photo Sequencing)

30 Photos in 3 Seconds with my GoPro HERO3 Black +
Stitching multiple GoPro images together is a form of time-lapse photography. You are displaying a change in an object’s position over time and adding a look that will surely be appealing.
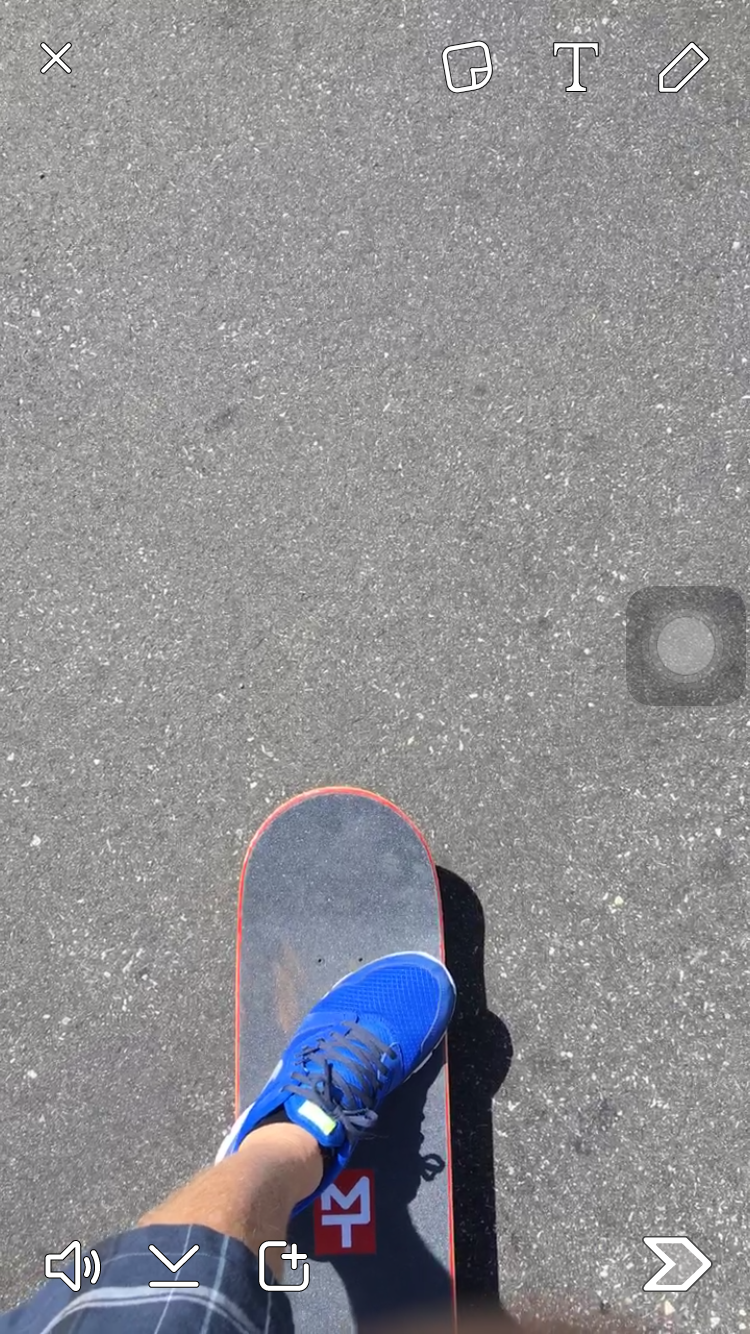
Photo sequencing only works when the object moves across a static background. For example the GoPro is set down on the ground and I’m sliding across the screen on my Fiik Electric Skateboard works well (Pictured) A surfer coming directly at the camera does not.
Subjects can be anything from a kitesurfer in flight to a snowboarder or skateboarder jumping, all you need to do is set your GoPro camera to Burst Mode (30 Photos in 1, 2 or 3 Seconds) and Photoshop CC by Adobe.
Step 1: Sort through the photos, select photos your going to want to stitch together, create a folder on your Desktop and drag photos into that folder.
Step 2: Import Photos into Photoshop CC (Click Files - Scripts -Load Files Into Stack) Note- If you did not use a tripod to capture photos and someone was just holding the camera then your gonna want to check the box (Attempt To Align Automatically Source Images)
Step 3: Creating a Layer Mask for each photo. Click on the first photo and then click on the Add Layer Mask icon. Then your going to want to Invert layer from White to Black. Set the Density to about 70%.
Step 4: Reveal Image. Pick a Paintbrush, make sure it’s the right size to match the image your revealing and Hardness is set to 100%. Opacity & Flow must be set to 100%.
Step 5: Paint Over Subject. Use the right size brush to paint over the subject. You can also zoom in and use a smaller brush for more detail etc. If you have subjects that overlap you can change the layer color from White to Black (Color Code) 000000 this will enable you to correct if you erased some of the other image. Use the paintbrush and zoom in to fix where you overlapped. Note - If you missed a spot you can change the color back to White (Color Code) ffffff
Step 6: Set the Density of the first image layer back to 100%
Step 7: Layer Mask for Second Image. Click on the second photo and then click on the Add Layer Mask icon. Then your going to want to Invert layer from White to Black. Set the Density to about 70%. Repeat Steps 4, 5 and 6 on remaining layers.
Step 8: For some reason a layer (Image) overlaps too much you can delete it by clicking on the layer and deleting it.
Step 9: Flatten Image. Click Layer - Flatten Image.
Step 10: Color Correction. Click Image - Mode - Lab Color. Then Click Image - Apply Image. Make sure you change the Blending to Soft Light and decrease the Opacity to desired depth. From there you have to change it back to RGB Color, Click Image - Mode - RGB Color. Now your ready to add more color adjustments and export as a JPG file.
Thanks for tuning into another Tip from a Pro!
Reno Makani

Check out GoPro and order yours today! Aloha Reno Makani
Take a moment and be one of the first to sign up for exclusive insights, media, VIP events and giveaways at http://www.renomakani.com/vip
More Tips from a PRO check out the links below
http://bit.ly/GoPro_BestPractices
http://bit.ly/GoPro_InstagramVideo
http://bit.ly/RenoMakani_YouTubeBestPractices

http://bit.ly/GoPro_InstagramVideo
http://bit.ly/RenoMakani_YouTubeBestPractices